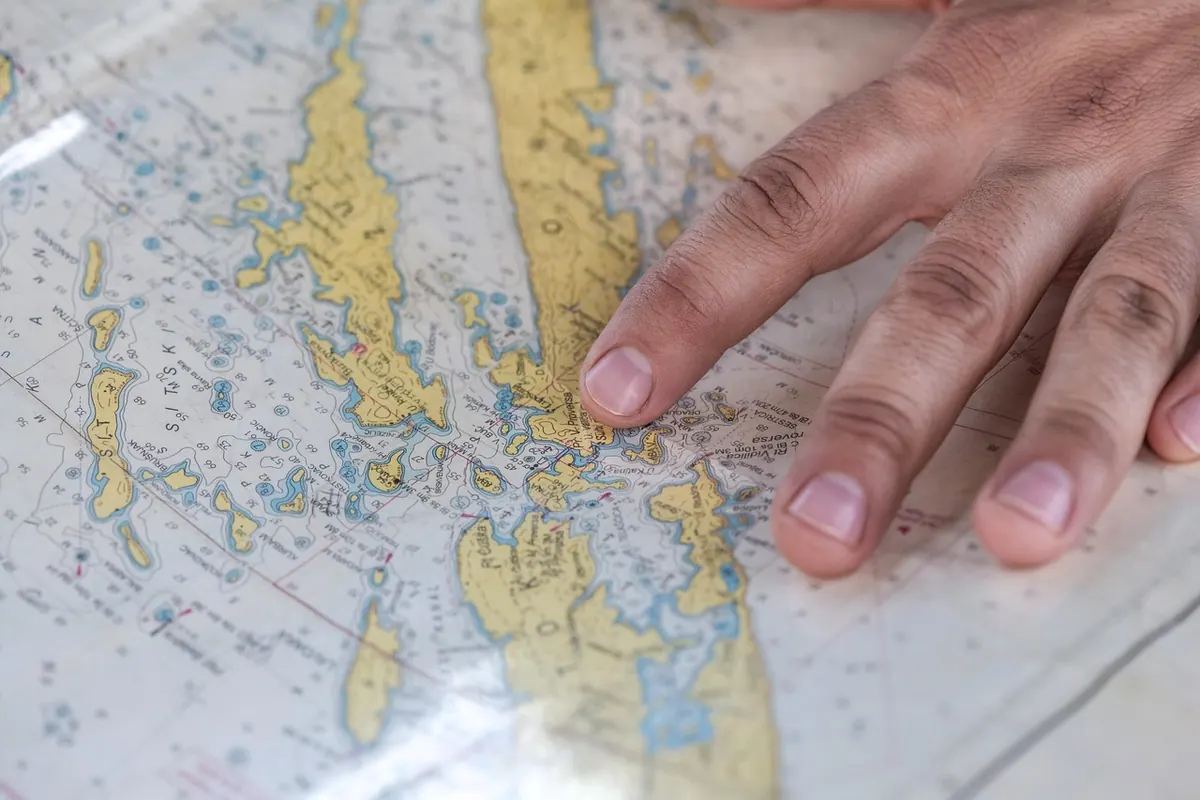
A scanned 1898 Ordnance Survey sheet of your town is a beautiful object, but on screen it is just a picture. It has no idea where it is. Georeferencing fixes that: you tie known points on the old map to the same points on a modern one, and the software warps the scan into place. Do it well and you can lay a century of change over the street you live on. Do it carelessly and every measurement you take from it will be quietly wrong.
The job takes an hour or two and costs nothing but attention. Here is how to do it properly.
Start with the paper, not the software
Before opening any program, find out what you are looking at. Note the survey date and edition, the scale, and the sheet number. A 1:2500 County Series sheet covers a town in useful detail; a 1:1056 town plan is better still; a tithe map or estate map may be earlier but far rougher in geometry.
Get a decent scan: 300 to 600 dpi, straight, with the corners of the sheet included. A skewed image is not fatal, but it wastes control points correcting something a flatbed scanner could have avoided. County record offices, local studies libraries, the National Library of Scotland's online collections and the local history society are all good places to look. Check the terms of use before you republish anything.
Pick a coordinate system before you pick points
For a British town map, set the project to OSGB36 / British National Grid, EPSG:27700. That is the grid most Ordnance Survey mapping is built on, and it keeps distances in metres honest. If you plan to publish on the web you will probably end up in Web Mercator, but let the software reproject at the end rather than working in the wrong system throughout.
This matters more than people expect. OSGB36 and the satellite-derived WGS84 datum differ by something on the order of a hundred metres in places — the difference between the right side of the street and the wrong one.
The kit you actually need
- QGIS — free, and its Georeferencer plugin does everything a town map usually requires. This is the sensible default.
- GDAL — command-line tools such as gdalwarp and gdal_translate, useful for batch work and format conversion once you know what you want.
- Map Warper — browser-based, quick, and a simple way to share a rectified sheet with other people.
- Allmaps — handy when the scanned map is served as a IIIF image by a library or archive.
- A modern basemap to compare against — OpenStreetMap tiles, OS Open Data, or aerial imagery loaded as a tile or WMS layer.
You do not need all of these. QGIS plus a modern basemap will carry you through the whole job.
Control points: where old and new maps agree
A control point is a feature you can identify on both maps and that has not moved. Choose a dozen or so, spread across the sheet rather than clustered in the middle.
Reliable anchors include the towers of parish churches, road junctions that still meet at the same angle, railway station buildings, canal locks and bridges at fixed crossings, the corners of substantial stone or brick buildings, and Ordnance Survey triangulation pillars. Where a street layout survives intact, junctions are excellent, because they constrain both position and rotation.
Leave these alone: river meanders, coastlines, field boundaries, anything demolished and rebuilt after the war, motorways and modern roundabouts. A point that has genuinely moved will drag the whole transformation with it.
How many points?
Four is the mathematical minimum for an affine fit, but four is not enough to judge by. Aim for eight to twelve, well spread. Once you move to polynomial transformations, keep points away from the very edges of the sheet, because the maths extrapolates badly there.
Transformations, and what the residual column is telling you
QGIS offers several transformation types and the choice is not cosmetic.
- Linear / affine — handles scale, rotation and shear. Right for a good survey on flat paper.
- Polynomial 1 to 3 — bends the scan to absorb paper distortion. Each degree needs more points and more caution.
- Thin plate spline — follows your points closely and can produce a wobbly result that behaves strangely beyond them. Use it for a badly creased scan, not as a default.
After each run, read the residual for every point. A pixel or two is normal and fine. One point sitting at forty metres while the rest agree is a mistake you made, not a fact about the map. Delete it, re-place it, run again. Do not accept a fit by ignoring a bad number.
Check the result, then check it again
Load the georeferenced layer over modern data and look at a place you know: the parish church, the war memorial, the station forecourt. Then look at the edges of the sheet and at any area where the town was rebuilt.
Expect imperfection. Historical surveys vary in accuracy across a single sheet, paper shrinks and stretches unevenly, and fold lines rarely straighten out. Adjacent sheets in the same series often refuse to join perfectly when georeferenced separately. Resist the temptation to georeference against another historical map — you will simply inherit its errors. Always work back to a modern, well-surveyed reference.
Keep the files, then put the map to work
Save the output as a GeoTIFF, compressed and tiled, and keep the control point file and the original scan alongside it. Record the source, survey date, coordinate system and your transformation choice in the metadata or a plain text note. In two years you will not remember why a particular point was rejected.
Once it is aligned, the map becomes useful in a different way. Overlay it on current Ordnance Survey data to trace vanished streets and field boundaries. Compare plot widths along a high street. Print two layers at the same scale for the local history society. If the scan's licence allows it, publish the result so others can build on your work.
One last habit: keep a copy of the unmodified scan. Georeferencing is reversible, but only if you still have the original.
Photo: milivigerova / Pixabay